ArgoBot Drive Training
Here you'll find some tutorials to write drive code for the ArgoBot (or any robot) using LabVIEW or C++
This project is maintained by FRC1756-Argos
Tutorial 0: Setup
Welcome! In this tutorial, you will set up your computer to run the other tutorials. If you already have your computer set up, you can move on to the first exercise. You should already have LabVIEW installed before following these steps if you’re using LabVIEW. For C++, you should have VSCode installed according to WPILib Documentation.
For LabVIEW ArgoBot v2, you will need CTRE Phoenix installed as well.
C++
Clone Training Files From GitHub
- Open VSCode
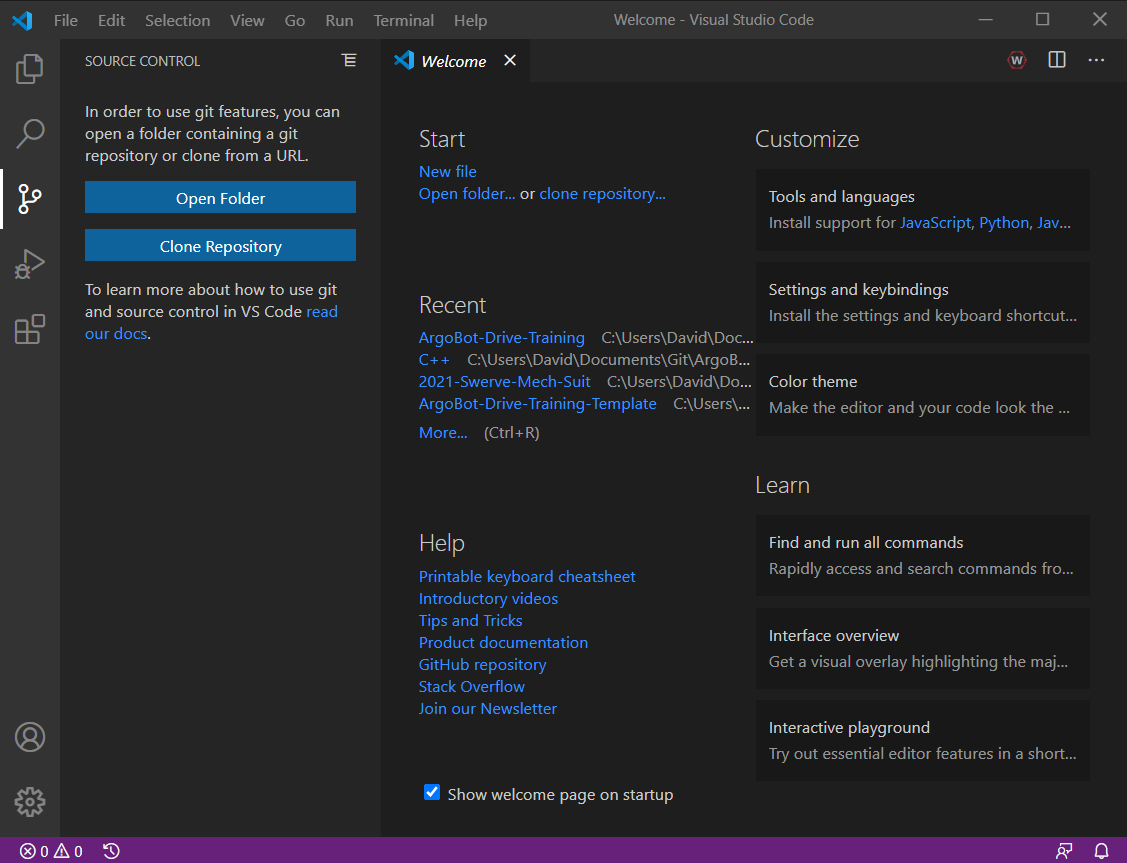
- Click the “Source Control” icon in the sidebar (or press Ctrl + Shift +G) and choose “Clone Repository”
- In the prompt, enter
https://github.com/FRC1756-Argos/ArgoBot-Drive-Training.gitand press Enter.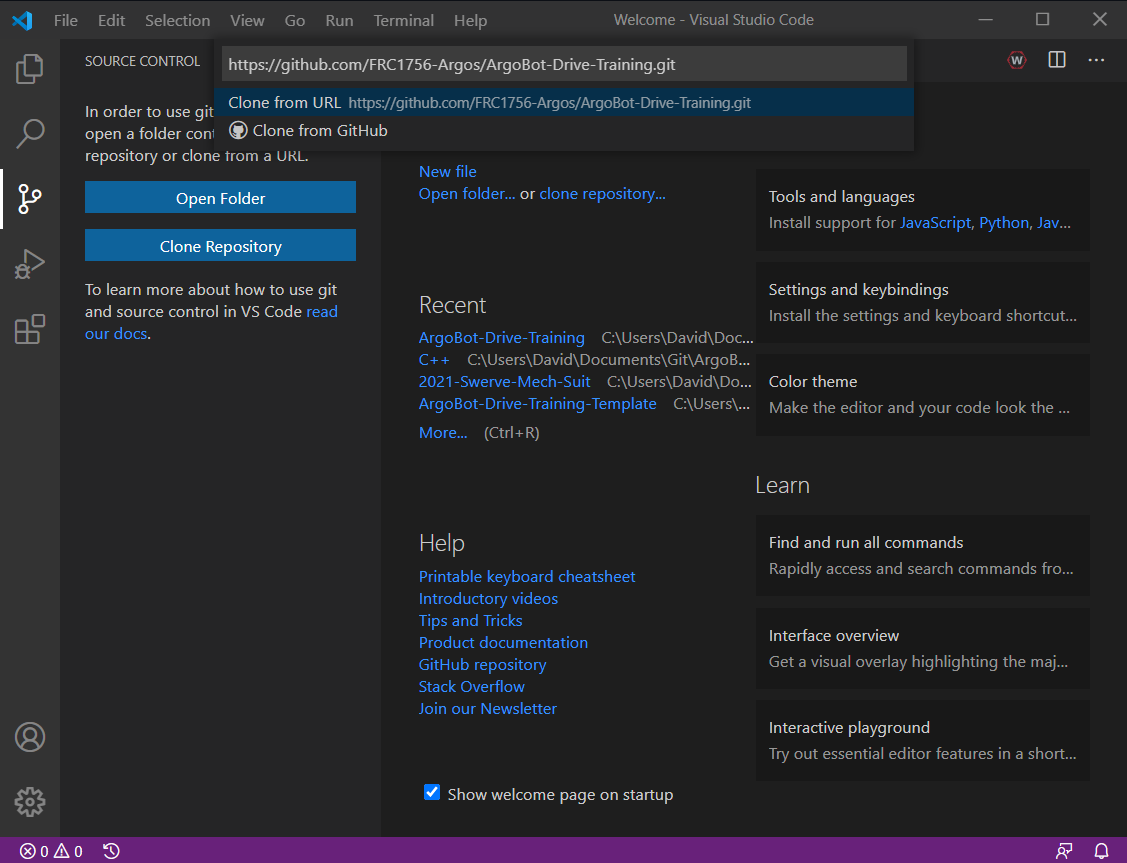
- Save in a memorable location. For example, create a Git folder inside your Documents folder and select it.
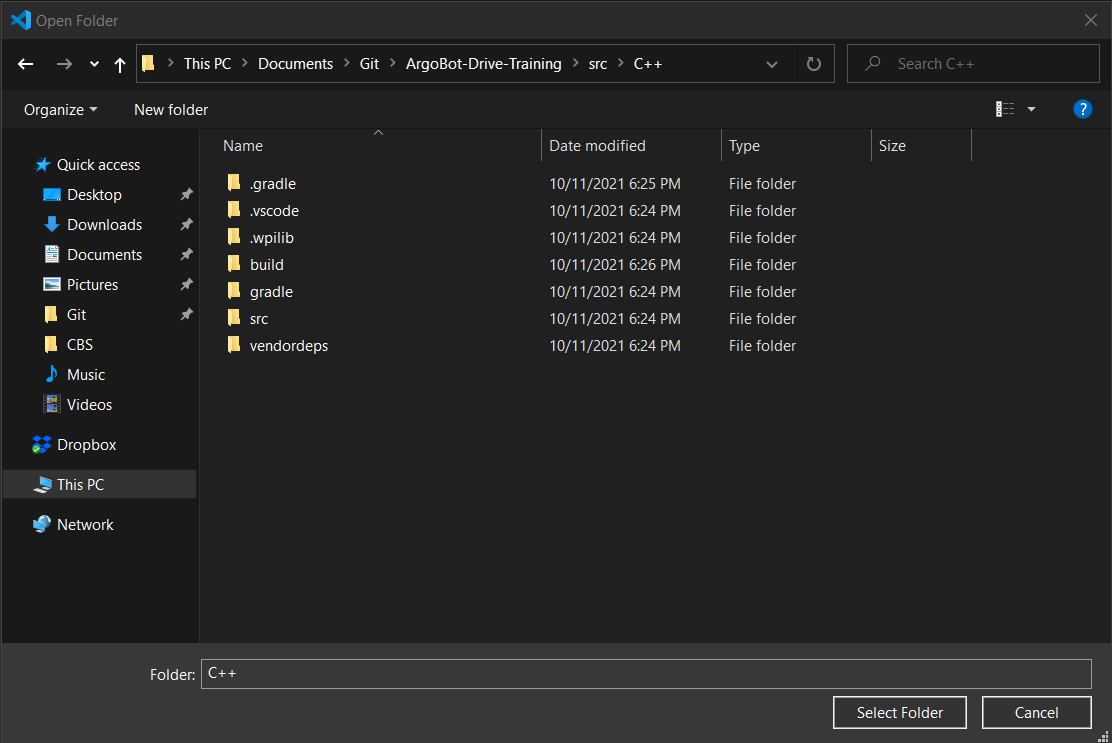
- In the same Source Control Menu, choose “Open Folder”.
- In the dialog box, navigate to the src/C++ folder inside the Argobot-Drive-Training folder you cloned in step 4.
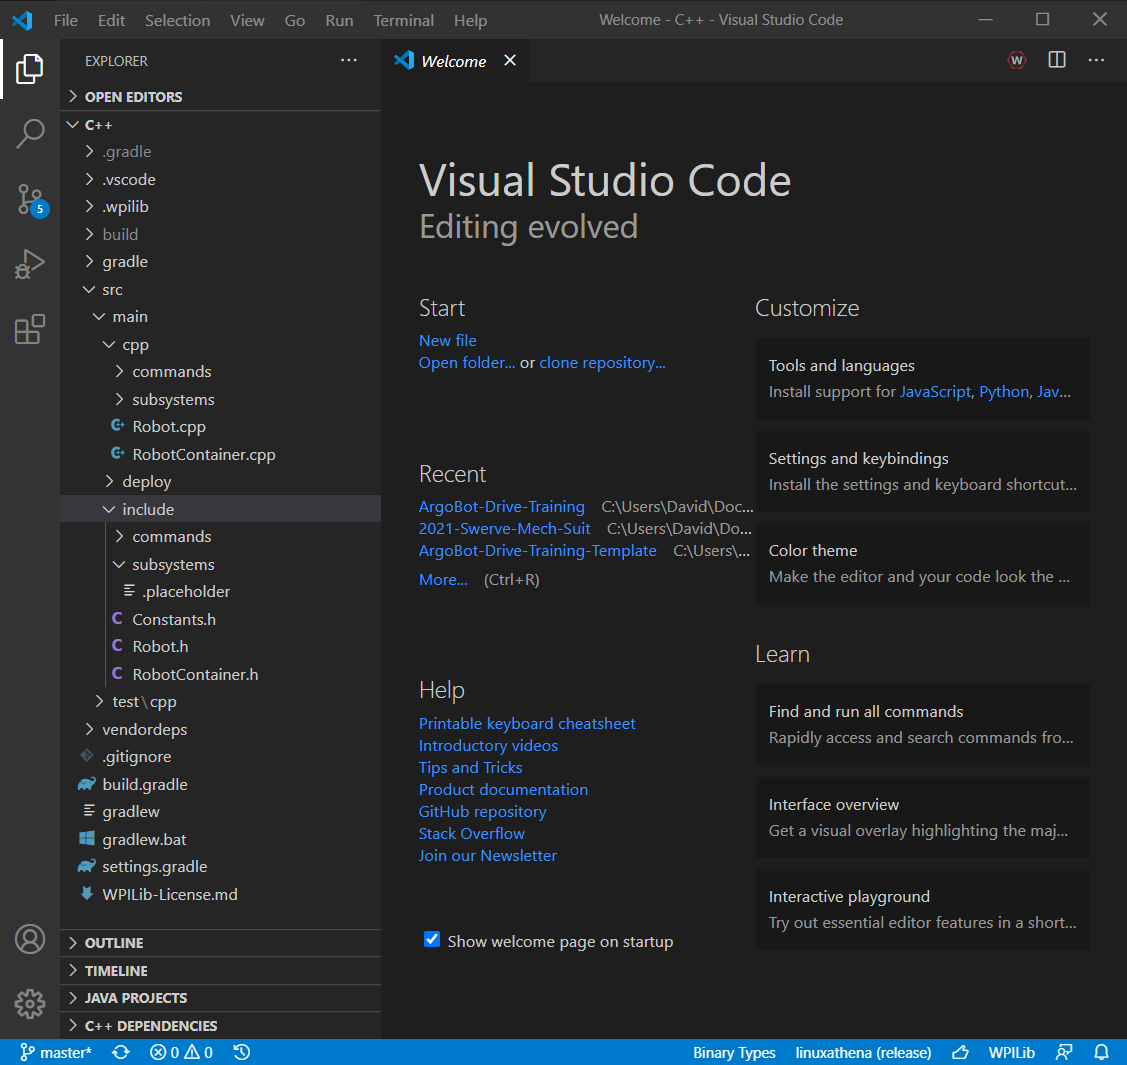
- You should now have a fresh project open that looks like this:
LabVIEW
Install LINX (ArgoBot v1 Only)
LINX is a platform to run LabVIEW code on various embedded devices. ArgoBots use LINX, so we will install this library to begin.
- Go to the NI LINX page
- Click the “LINX Download” link in the resources tab
- Click the “Download Toolkit” button at the top of the page. This will launch the LabVIEW VI Package Manager
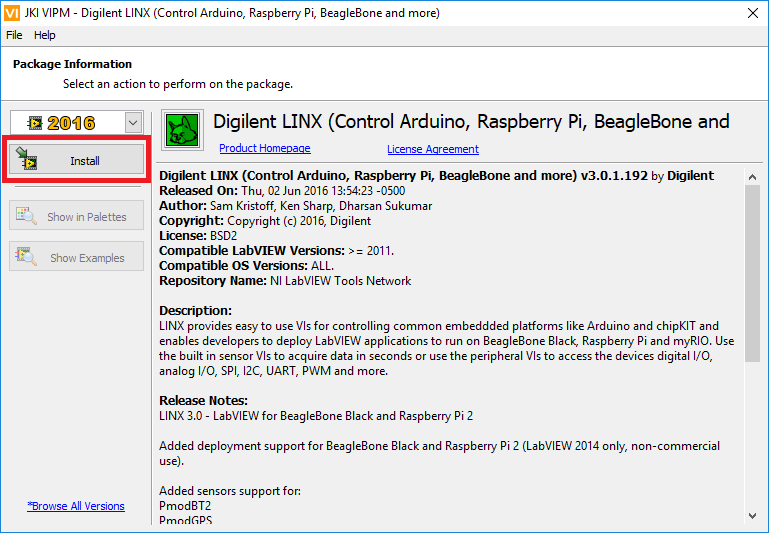
- In the LabVIEW Package Manager window, click the Install button. This may take a while and may need to install additional libraries.
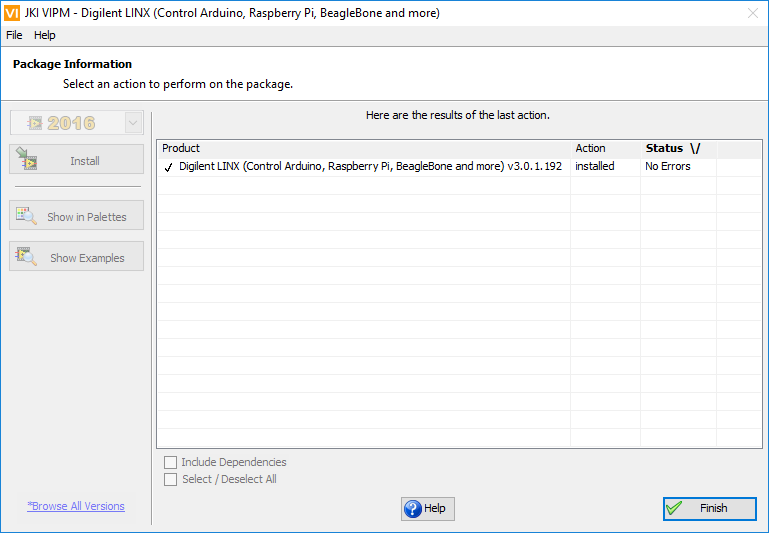
- If the installation completes successfully, you should see a confirmation that looks like the image below
Clone Training Files From GitHub
All the files for these exercises are hosted on GitHub, a Git repository host. Git is a version control system that enables us to archive, share, and collaborate on software projects. You may use any git client to clone this repository, but I’ve included the GitHub GUI instructions because it offers a user-friendly experience.
- Download and install the GitHub desktop client from GitHub’s website
- If you have a GitHub account, you can sign in during the installation process. You can also create a free account
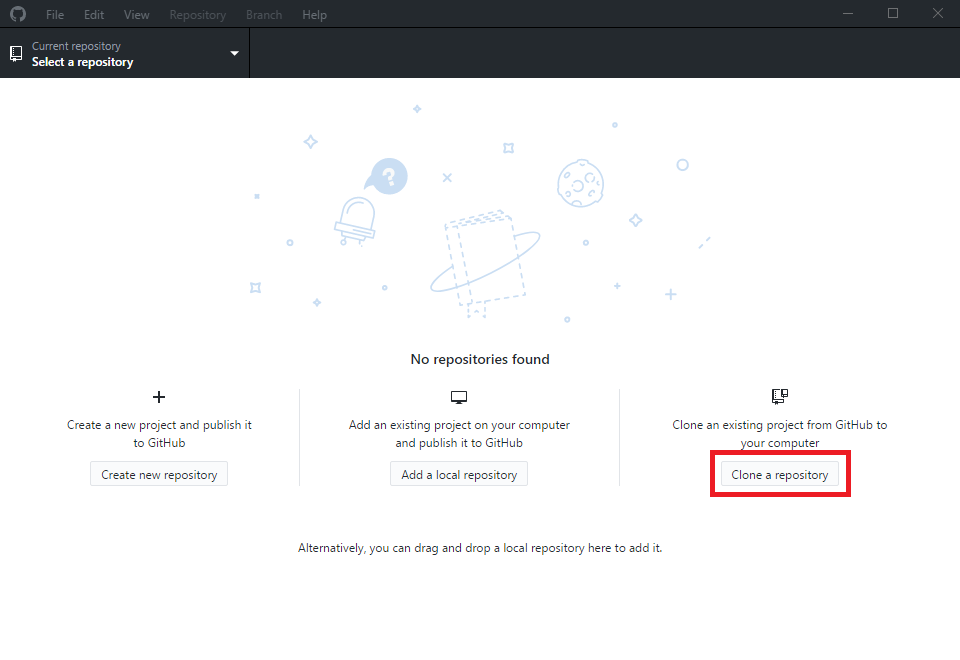
- Click the “Clone a repository button” on the GitHub client start page
- Choose the URL
https://github.com/FRC1756-Argos/ArgoBot-Drive-Training.gitand a location on your computer to download the files to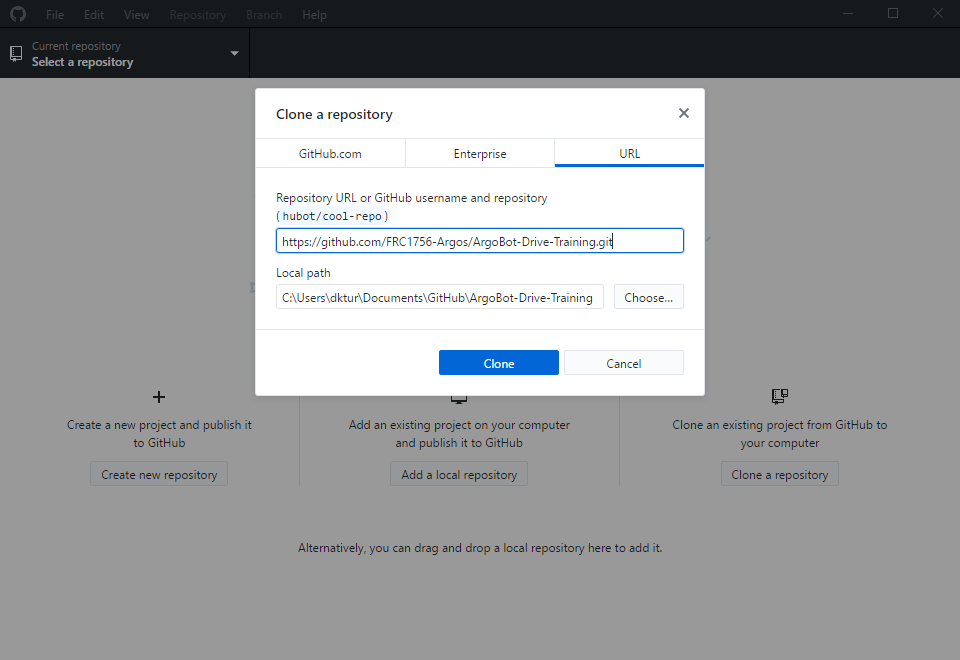
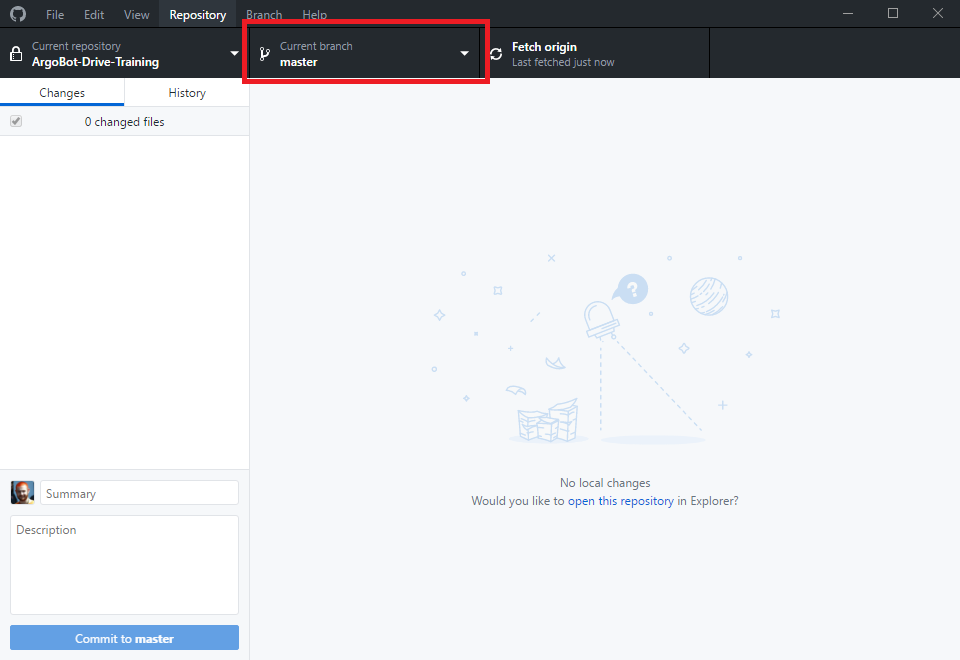
- Make sure you have the master branch checked out
Verify Environment
Now that everything’s ready, let’s make sure all the pieces are working.
ArgoBot v1
- In the GitHub desktop client, select “Repository”>”Show in Explorer”
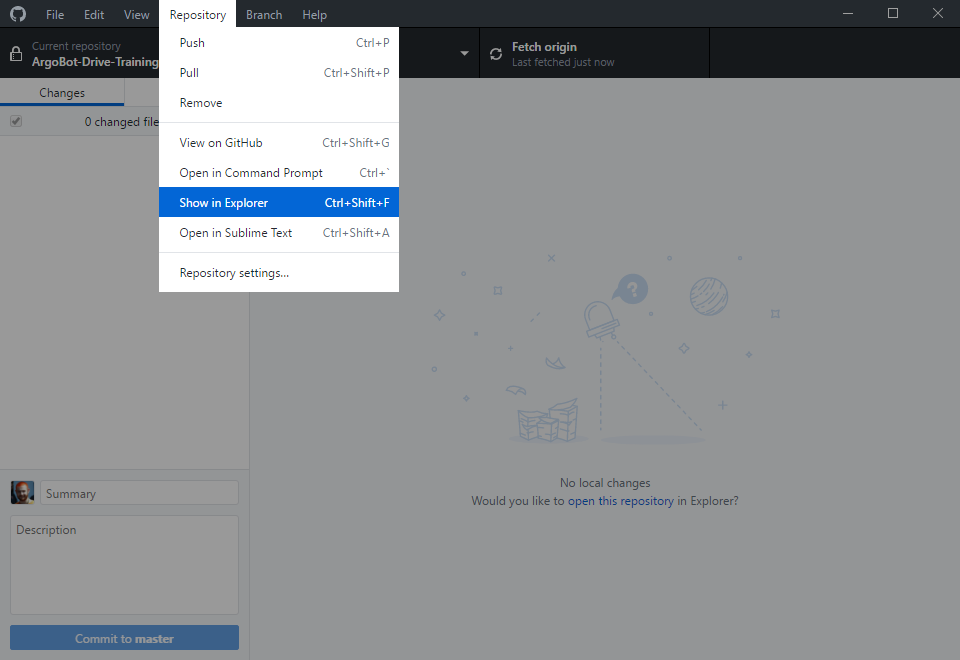
- In the
src/ArgobotV1folder, openArgoBot_Main.vi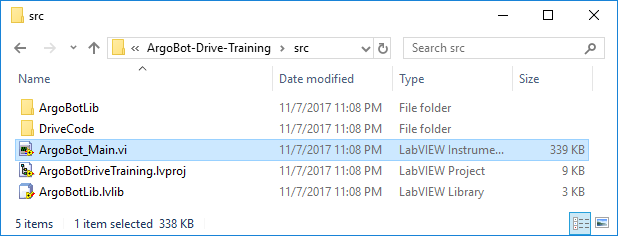
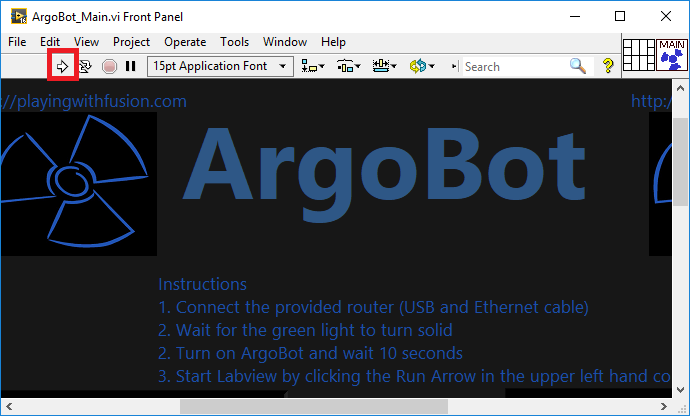
- Make sure the run arrow is solid white as shown below
ArgoBot v2
- In the GitHub desktop client, select “Repository”>”Show in Explorer”

- In the
src/ArgobotV2folder, openArgoBotV2.lvproj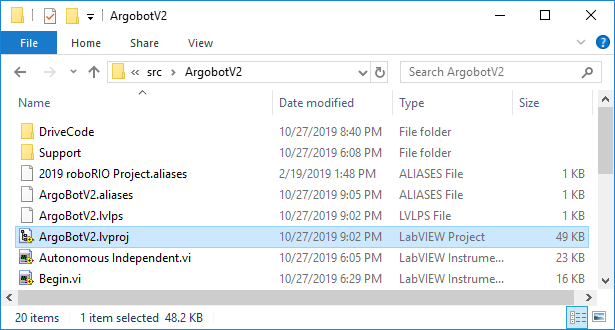
- Open
Robot Main.viin the project explorer window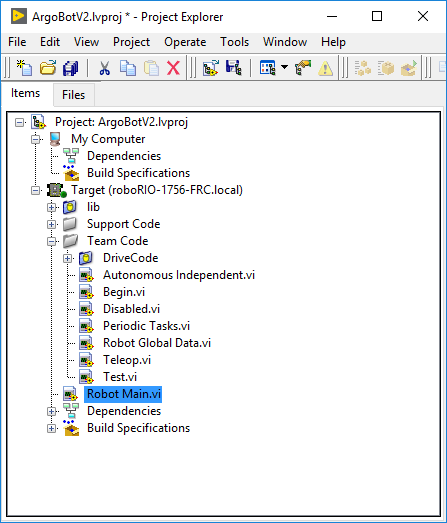
- Make sure the run arrow is solid white as shown below
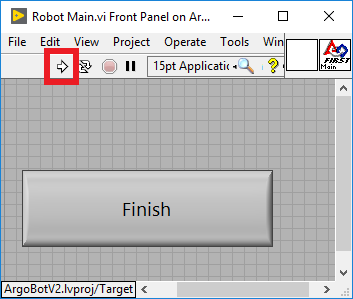
Congratulations! You’re ready to start the training exercises! Click the link below to begin the first tutorial.
| <-Previous | Index | Next-> |